First things first.
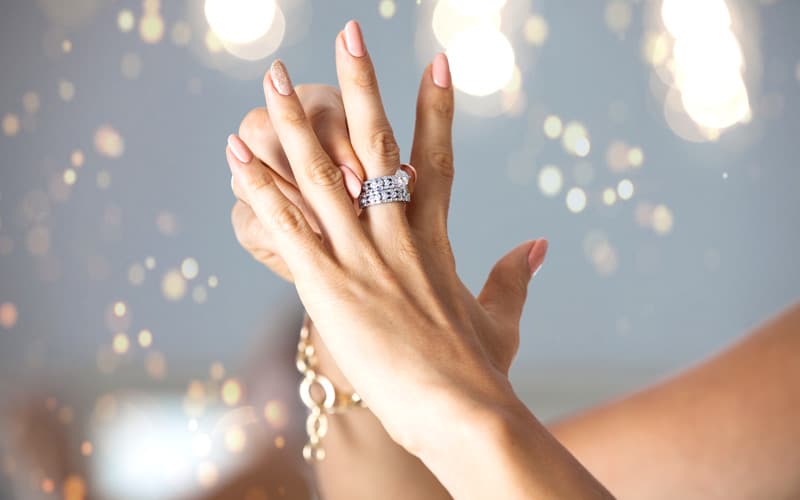
A friendly reminder not to expose your gemstone jewelry to mechanical cleaners. Traditional oil treatments can be driven out, dulling transparency or color, and many gems can crack or shatter when exposed to sudden temperature changes or ultrasonic bubble implosions. While we’re on the topic, be cautious with your diamond jewelry as well. If a piece with stone clusters has taken some knocks during normal wear the vibrations generated by ultrasonic cleaning can shake small diamonds loose and even cause damage, if their girdles wind up touching.
The Careful Cleaning Credo
If you want best returns on your jewelry investments, in the form of vibrancy and sparkle, begin by practicing this “careful cleaning credo” each day.
Each day, before retiring: Remove all jewelry and wipe each piece down with a clean soft dry cloth to remove perspiration, chemicals, etc. This prevents buildup and helps maintain optimum beauty between professional cleanings.
Committing to this credo may require breaking old habits, like wearing rings, earrings or bracelets for days on end without removal. But it’s important to do this with regularity because it prevents lotions, sweat, grease and dirt from building up, becoming permanently embedded and difficult to remove.
The best news of all? This simple soft dry cloth wipe down can be applied to all daily wear jewelry creations without risk of damage.
Bonus: Doing this will also keep your gemstones’ refractive indices from changing. If you ever wondered why jewelry seems to dull over time, it’s not the gems. It’s detritus on the stone (perhaps on the pavilion, where it’s hard to reach). Light that would normally reflect gets drawn out by grease or oil on the underside. This mutes how diamonds and gemstones sparkle. This is very common when diamond stud earrings are worn for days or weeks on end. Grease buildup turns even the most breathtaking diamonds dull – changing their optical properties so that, visually, they are no longer diamonds.
While observing the daily Careful Cleaning Credo, for appropriate jewelry pieces, here are an additional…
Seven Steps to Sparkle
Periodically it’s prudent to invest some time in effective home jewelry cleaning. Due to their superior hardness, toughness and stability, these seven steps can be safely performed with diamonds. Other jewelry should be considered on a case by case basis.
Specifically, certain organics and the mineral malachite should only be cleaned using the Careful Cleaning Credo above. There are also luxury brands that stipulate their jewelry containing amber, coral, pearl, lapis lazuli, turquoise, emerald or a significant stone cluster should be brought to one of their boutiques for cleaning. Know the policies of your jeweler and, when in doubt, fall back on the Careful Cleaning Credo and save deeper cleaning for the professionals.
Step 1 – SET UP FOR SUCCESS
- Choose a secure location
- Cover the hard work surface with a towel or cloth
- Ensure any sinks are stopped or have strainers in place
- Child and pet-proof the area
- Before starting, have all materials at hand so you don’t leave your jewelry unattended

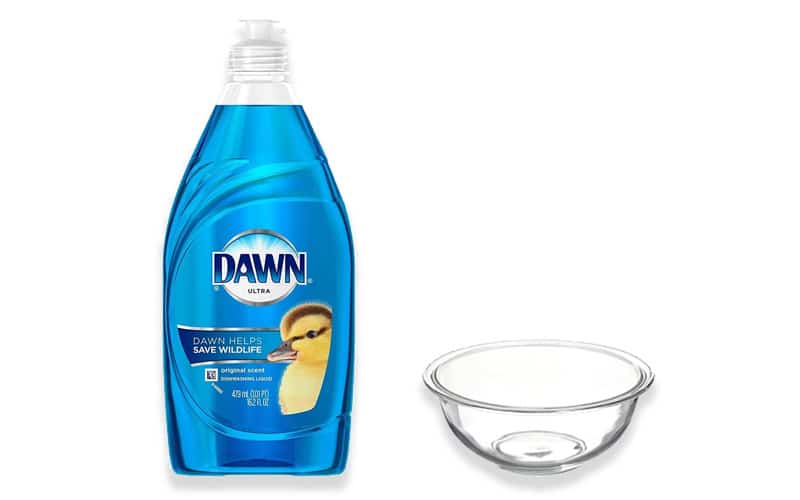
Step 2- SOFT SOAK
- Use only neutral-ph detergent
- Mix a few drops with warm water, around 100º (not hot)
- Soak for a few minutes
Pro-tips: Common advice is to use lukewarm water. Taken literally “Luke” comes from the Middle English word “lew,” which means tepid, but that’s not very scientific. When drawing your jewelry bath water, run it over your wrist until you arrive at a temperature that feels warmer than your body’s temperature but is ‘comfortably warm’ and not hot, typically 100 degrees or a few degrees above that. Soak each piece of jewelry for a few minutes. A longer soak may be needed if dirty.
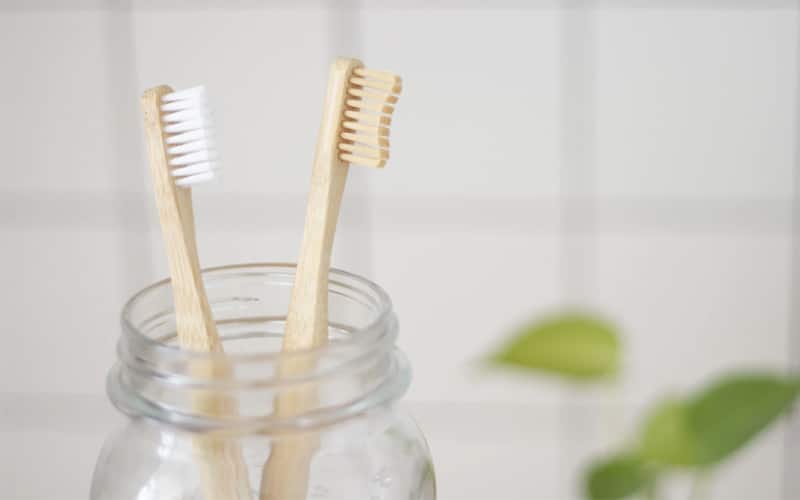
Step 3 – SOFTER BRUSH
- Choose a jewelry specific brush, or toothbrush with soft or extra-soft bristles only
- Medium, firm or hard bristles can scratch precious metals
- Use a new or like-new brush
Pro tips: Brush selection is very important. A toothbrush with bristles designated soft or extra soft is suitable. Avoid toothbrushes medium and higher. Tooth enamel has a Mohs hardness of 5, and can be scratched by medium, firm or hard bristles. Most gems in jewelry will be harder than that, but gold alloys used for jewelry have an average hardness of 2.5 and platinum has a hardness of 4.5. Don’t use an old brush or one which might have detritus on it, as debris could also scratch your jewelry.
Step 4 – KNOW YOUR ANATOMY
- Top and bottom facets need to be clean
- Buildup tends to happen on the underside
- Foreign material on facets changes a gemstone’s refractive index
Pro-tips: Just as autophiles learn how everything works under the hood of a car, your cleaning efforts will be improved if you familiarize yourself with how your precious pieces work. To get transparent faceted gemstones to look their best, the top and bottom facets need to be clean. Light enters the stone from above, but the bottom facets play a critical role in both reflection, which helps the stone be bright, as well as refraction. Light that would normally reflect gets drawn out by grease or oil on the underside. This mutes how diamonds and gemstones sparkle.

Step 5 – CHECK YOUR PRONGS
- Use a magnifying glass or jewelers’ loupe
- Inspect the prongs for security
- Inspect the notches holding the gemstones for dirt
Pro-tips: The prongs which hold your gemstones are particularly important. They act as shock absorbers, protecting gemstones if your jewelry gets knocked about. When it comes to cleaning, the notches cut into the prongs for setting the gemstone can become repositories for dirt. Take time to inspect the prongs to be sure they’re secure (you can use a magnifying glass or jewelers’ loupe to more easily do this) and use your soft brush to gently clean them. For other setting types, be sure all contact areas around the compass of the stones are secure and undamaged.
For some prongs, and to more easily clean the undersides of gems, some professionals recommend a soft camel hair artist’s brush, where the hairs come to a point.

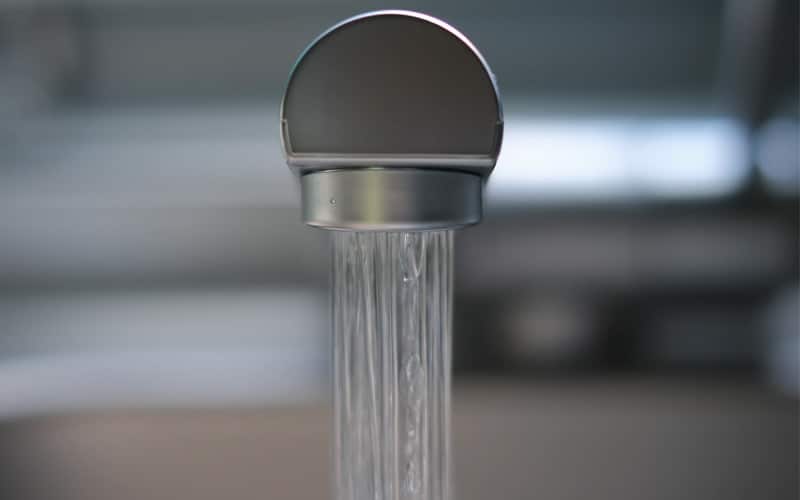
Step 6 – WARM, CLEAN WATER RINSE
- Use warm, fresh running water
- Rinse and soak at the same temperature
- Never go from warm to cold or vice-versa
- Know your local water supply, as hard water leaves deposits
Pro-tips: When you finish brushing, rinse the piece carefully in warm, fresh running water. The water you soak the piece in and the water you rinse it with should be the same temperature. Never take it from warm to cold water or vice-versa. Depending on where you live, your ground water may be hard. The US Geological Survey identifies Arizona, Florida, Indiana, New Mexico, Utah and Wisconsin as states where the ground water is very hard if untreated. If your tap water is untreated, hard ground water can leave deposits. If you are in doubt, you can warm up distilled water and rinse using that.
Step 7 – CHAMOIS DRY
- Wipe dry with chamois leather or a clean microfiber cloth
- Don’t use paper towels
- Absorb as much moisture as possible
- Air dry as needed
Pro-tips: Wipe your jewelry clean with a soft cloth, a chamois leather or a clean microfiber tissue. Don’t use paper towels. They can leave tatters in prongs and cheap paper towels are abrasive. Use the cloth to absorb as much moisture as possible. If you can’t reach all areas, set it on the chamois and allow it to air dry. Some people avoid the chamois, placing their rinsed pieces in a bed of dry maple wood chips which absorb the moisture. Once dry they just blow away the chips.
Voilà
Now your jewelry is fresh, clean, shiny and ready to dazzle. If you combine the daily Careful Cleaning Credo with these Seven Steps to Success it will help your daily wear diamond jewelry to remain vibrant, sparkling and on-point between checkups with your jewelry professional.
For any seriously soiled pieces professional cleaning is recommended.